Saturday, January 30, 2016

It's Armor Up Saturday!

Well, I just had to get into the harness again, this time as a Late-14th/Early-15th C. French Man at Arms. The breastplate is worn under the padded jupon as was the fashion at the time.
I'm not wearing the arm harness or the arming jacket. Taking the suggestion from an armor site post, I used my old Army LBE - basically a pistol belt and Y harness to point (tie off) the leg harness. It actually works really nicely. I still need to get period foot wear; until then my zip up ankle boots are stand ins.
From what I've seen, the majority of folks doing reenactment chose English personalities to base their kit on. Personally, I like the French images of the time - as below:
They better not be talking about me.
Until I live next to a castle, Microsoft Paint.net will have to do.
On the painting desk there is another (and final) 120mm resin mounted knight. This one also has full cloth barding, but the fairly static walking pose, should make the painting a lot simpler.
Au revoir!

Wednesday, January 27, 2016

Ich Dien - 120mm Imperial Gallery 14th C. Knight - Finished

Just finished up the figure - the Super Glue is still wet holding the shield to the arm precariously. Ended up painting him as the Prince of Wales with his so-called Shield of Peace. I managed to write "Ich Dien" on the scrolls on the shield with a Micron Pen. This time I first sprayed the painted shield with clear acrylic. This made writing with the pen much easier as the brushed on acrylic tends to clog up the tip of the pen. This is something I couldn't have painted when I bought it about 10 years ago. Painting heraldry in 28mm gave me the courage to attempt it here and glad I did. Guess I can call him alternatively, "Ten Years After."
I added some "shrubbery" around the dowel holding up the horse. Not perfect, but better than the plain dowel.
Purist will note that I did not add the Prince's label over the Arms of England to denote his status as the heir to the throne. As in the previous post I didn't want to obscure the lions where the label would be placed over.
The shield that came with the kit was poorly molded and so thin it cracked apart when I tried to cut it from the excess resin. Heated plasticard worked fine for a replacement. Although as you can see in the photos above and below, I neglected to fabricate the padding and straps in the back of the shield. Chock it up to laziness. Life is too short for these things!
The sword, scabbard, tail of the chapeau, horse stirrups and bits are metal parts. The reins and stirrup straps are cut from left over paper from the Bengal Lancer project.
I kept the surcoat plain without displaying arms, but added an ermine pattern to the lining.
The pose reminds me of the knight crashing through the little boy's bedroom in "Time Bandits" - love the war cry - "Eeeeyaaaah!" Anyway, this is the third large figure I managed to paint this month which otherwise would still be sitting in boxes going on a decade or so. Cheers to all of you!

ADDENDUM:  I should've included an image of him next to 28mm figs for scale - so here he is ready to slay a myriad of them.

Saturday, January 23, 2016

120mm Imperial Gallery 14th C. Knight - WIP +2

Horsey is done. I had to use a wooden dowel to hold up the horse due to its spirited pose. The way it is intended to be attached to the base is with the two hind legs pegged into it. However, as one of the legs - the rear right raised one - is supposed to go in the broken limb of the dead tree was way too flimsy. Hopefully adding some tall grass around the dowel will hide it a bit.
Anyway, it's secured to the  base and won't topple over or worse break a leg...or two.
The ermine markings on the face covering were painted with a fine tipped brush. I tried using a Micron Pen, but it kept drying out. Maybe it's too old, but ended up using the brush which was faster anyway.
Under the head covering there is a plate chamfron. Never growing up around horses, I always presumed the open part of their ears face forward, but I now know they can twist their ears.
Well, now that the mount is done, I can start on the rider. I like to tackle the hardest parts of projects first.

Friday, January 22, 2016

120mm Imperial Gallery 14th C. Knight - WIP +1

Finished most of the heraldry on the barding. I'll have to clean up some stuff - like the scrolls on the quills. Might even try to write in "Ich Dien" with a Micron Pen. The covering for the head will be painted with an ermine pattern.
As always, painted for effect rather than precise accuracy. For instance, I tried adding lines for the barbs of the feathers, but it looked too busy so left them plain with just a line for the shaft. Speaking of the feathers, I moved the larger ones up a bit - they looked too low previously. The way the front half of the barding is sculpted made it a bit challenging to center and properly angle the heraldry - not saying I got it exactly right, but seems to look okay.
I decided to paint the figure up as Edward III, as I didn't want to paint the white label over the coat of arms :).

Thursday, January 21, 2016

120mm Imperial Gallery 14th C. Knight - WIP

Here is another resin and metal kit I picked up off of ebay many years ago. It's an out-of-production kit from The Imperial Gallery in England. The box art has the figure painted up wearing the arms of the Edward I. However, the armor is a bit later than Edward would've worn as most of it is plate armor. As the kit comes with several helmet crests, one of which with a lion passant, I will attempt to paint him up as the Black Prince. I've started preliminary work on the barding - the basic outline of the heraldry. Looking at it again, I think I'll move the bottom feathers up a bit.
The front half of the barding carries the ostrich feathers which the Prince inherited from the house of his mother, Phillipa of Hainault. There is also an oft quoted story that the feathers were adopted by the Prince after the Battle of Crecy. Supposedly the Prince found the body of the blind King John of Bohemia with a helmet adorned with a crest of ostrich feathers.
Here is the kit with the box and contents laid out.

Saturday, January 16, 2016

1:12th Airfix Bengal Lancer - Completed

Went ahead and finished the kit - kind of a rush job using a hair dryer to speed up the Dullcote finish.
The yellow coat is a bit warmer toned than in the image due to the flash.
The reins and other horse straps are cut from paper - actually the instruction sheet from the kit.
The flag came with the kit and was given some highlighting.
As I mentioned in a previous post, I picked up this kit intending to convert him into a Norman Knight. However, I'm glad I didn't, and happy to have him in honor of Skinner's Horse.
This last photo has him next to a couple of Front Rank Dutch Lancers. This is actually the first British Colonial figure I've ever painted.
Speaking of the Colonial period, I see Dan Mersey, author of Dragon Rampant and other rules, has recently announced a set of rules for this period - The Men Who Would Be Kings. I may have to look into this one.

1:12th Airfix Bengal Lancer - WIP +2

Here's the Lancer prior to Minwax staining. The turban wrap was the best part - trying to figure out the pattern using the box art.
And here he is after a near-fatal accident - as I was trying to insert the pencil into the bottom of the figure more securely, the tip broke off and he went flying up and hit the ground breaking off his left leg and prying off the lance. Luckily nothing serious and the leg can be glued back and lance squeezed back into the hand. The hardest part was wiping up the spots of stain on the floor and figuring what else to put the figure back on. The yellow is darker in reality - the camera flash makes it out a few shades brighter. The first photo is with natural light (well taken in normal overcast, rainy Pacific NW winter weather).
Once dried, he'll get a finish of Testors Dullcote and given highlights.

Friday, January 15, 2016

1:12th Scale Airfix Bengal Lancer- WIP +1

Finished the horse - minus the straps. After a basecoat of sprayed on brown, I dry-brushed the higher areas, and also painted the saddle and harness finished with a wash.
It actually looks pretty good to the naked eye, and I'm happy I didn't have to use an airbrush. Although some folks have great results with airbrushing, I just don't have the experience with it. I'm much more comfortable with a paint brush and canned spray paint.
The base was sprayed with a dark green and also given dry-brush highlights. Hope to start on the Lancer himself tomorrow.

1:12 Scale Airfix Bengal Lancer - WIP

Continuing my efforts to paint up remaining large scale figures I've had for a long time, here's the next project. It's a plastic 1:12th scale Airfix Bengal Lancer, aka Skinner's (Sikander Sahib) Horse.
I picked it up off of ebay many years ago, the original release was in the 1970's, I believe. This one a re-release from the 1990's. I originally planned to convert it into a Norman mounted knight, but after reading up on the history of the Lancers, decided it was best to keep it as is as a tribute to this fine unit - as well as the founder, Colonel James Skinner.
My buddy from Hawaii gave me a Tamiya airbrush set and I considered trying it out on this project. However, since my only previous experience with airbrushing was with those cheap Testors ones using compressed air cans, I decided to hold off. I went ahead and just used left over spray paint for the horse - a base coat of black followed by a lighter coat of brown. Anyway, just a quick WIP post to see what I'm up to.

Sunday, January 10, 2016

Lion Rampant Retinue - Somewhat English HYW

A 24pt Lion Rampant retinue using only 24 figures. I like the compactness of the force, and hopefully the Mounted Yeomen with bows, classed as Expert, will provide enough fire support. The Mounted and Foot MAA's should be quite formidable opponents in Attacks.
Of course a true HYW English force would have a good number of Longbowmen. Anyway, these figures were all painted awhile ago, but I don't think they were pictured as a group before - at least not as a LR retinue.

Saturday, January 9, 2016

1/8th Testors Samurai - First Painted Figure of 2016 (and after several months as well)

Deciding to use the resin sword that came with the kit, completed the big guy today. After the Minwax stain dried overnight, gave it a coat of Testors Dullcote and then some highlighting.
As noted in the title, this is not only the first painted figure for 2016, but also the first for a long time. I think the last figure I painted before this one was in October - before getting into the 1:1 Medieval armor thing.
I'm actually waiting on another mail haubergeon - this time a bit bigger so that it will hopefully fit over the padded arming jacket. Not like I'm going to do SCA or Battle of the Nations, but I want to be able to wear the armor with all the components.
The jinbaori's lapels and rest of the clothing are plain, without any designs or patterns. This not only made the painting simpler, but seems to set off the red armor better.
The next shot has the figure next to 28mm Perry figures and also a 120mm mounted figure for comparison.

Friday, January 8, 2016

1/8th Testors Samurai - WIP

Here he is with the basic colors on - prior to getting a Minwax stain.
No patterns have been applied to the clothing - possibly will add some after the staining.
The hands will go on after the staining - otherwise they'd get in the way.
The mon on the back are raised designs. Need to find a suitable helmet crest as the original one was used on another figure. I hope to use a steel blade from one of those cheap letter openers. Now I'll see if the Minwax is still good - haven't used it in a long time.

Tuesday, January 5, 2016

Dragon Rampant Warband - Men of the West

Taking a break from the 1/8th Samurai figure, put together a sample 24-point Dragon Rampant Warband. These are models from a WHFB Empire army - other options for the warband are available, but I wanted something compact and also be able to use the Empire General on Gryphon, as well as the DemiGryph guys. Still need to play a game, but as the basic rules are based upon Lion Rampant, shouldn't be too hard.
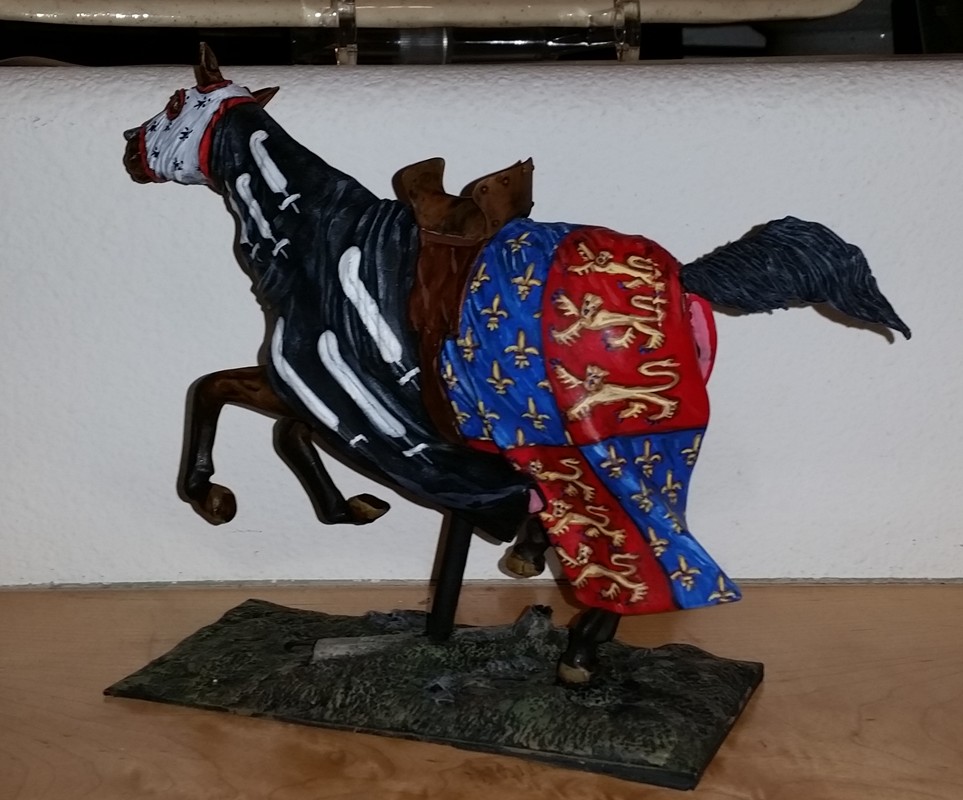
Here's the Warband Leader - an Earl on a Flying Model which basically allows him to fly over stuff and units instead of being blocked by them.
Next up, a Reduced Model Unit of Heroes classed as Elite Riders. They have the Wild Charge and Counter-charge Special Rules. Although the author clearly states you can use any amount of models in any unit, he also suggests less models in certain units makes them look better - probably to convey the better stats or potency of the unit.
Here are six WHFB Empire Knights along with an Empire Captain to play the role of Lancers. These are Heavy Riders with the option to have missile weapons. They also have the Counter-charge Special Rule. Per the author, keeping unit figures in numbers comparable to their Strength Points - either 6 or 12 points - assists in tracking casualty counts.
Finally two units of Heavy Missiles equipped with handguns firing Weighty Projectiles. This option lowers unit costs from 4 points to 3 points. It also reduces range from 18" to 12". As targets over 12" incur a -1 to Shooting, it's somewhat of a trade off for their cheaper costs than Crossbowmen.
Not sure when I'll get a game in, but I plan to - as well as get more Lion Rampant games in. It's nice to use similar rules for somewhat different games - like Black Powder and Hail Caesar.

Sunday, January 3, 2016

1/8 Samurai WIP & Dragon Rampant

Put together the main parts of the resin samurai figure. Since I didn't have Green Stuff  handy I used some Milliput to fill in the spaces where the arms and legs came together. I also noticed that parts of the figure had areas either missing from the casting, or broken off. These were mainly parts of the armor lacing and an area on the shin guards.
Although I was able to use Milliput, Green Stuff would've been a lot better and easier to use. Milliput, as those who've used it would know, doesn't adhere as well as Green Stuff, nor is it as easy to form into shapes. Milliput is better as filler which can later be sanded down.

Anyway, the money I saved not buying more Green Stuff was used to pick up a copy of Dragon Rampant from the local gaming store. Haven't read through it yet, but see that I should be able to use some of the Warhammer Fantasy Battles Empire figures.
As with Lion Rampant, the book is filled with nice illustrations - quite a bargain for the modest price.
Between working on the samurai figure, I'll be putting together a Dragon Rampant Warband - that's what the basic force is called, versus Retinue as used in Lion Rampant.