Saturday, October 22, 2011

Martian VSF Game - 10/22/11

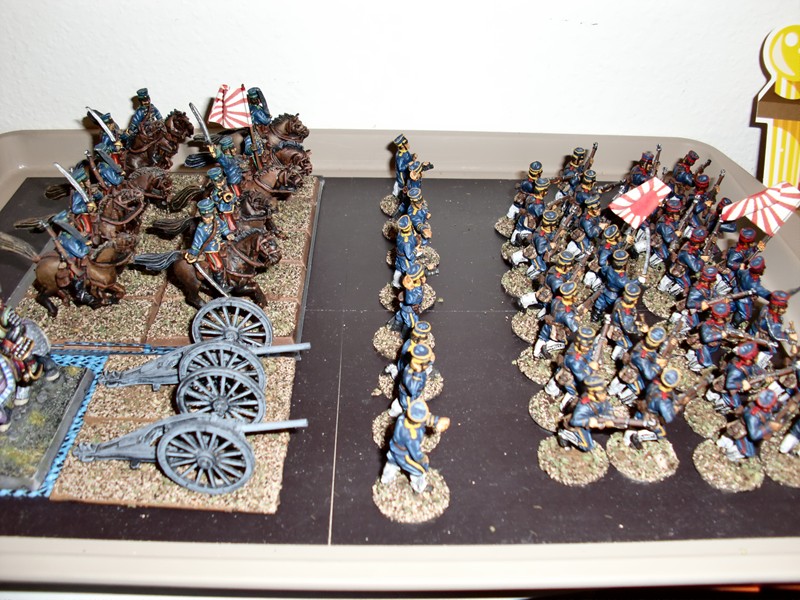
Participated in a large VSF game today at The Game Matrix. Mark W. hosted a Martian game using his modified TSATF rules. He and several others had brought so many cool figures, I didn't need to use the Japanese forces I brought. The scenario had a British steam tank broken down on the far end of the table, with several units of supporting infantry, and a supposed rescue unit of the majority of British forces coming on the opposite end. All British forces started with figures on the table. The Martians, with German allies, came on the board on blinds. Dave S. and I ran the British with the broken down tank. There was over a dozen players and things got really busy after a few turns. It was a long day, but good times. I didn't really know what was going on in the center, where all of the heavy action was going on, but it seemed like the Martians were getting the upper hand. Here are a few  photos I took - you may want to put on sunglasses.
I ended the day with a final charge into a German machine gun team, and ended up destroying them. Not a bad way to end the game.
During the game, Adrian and I discussed the possibility of using Sharp Practice for a smaller VSF type game using my Japanese and a still-to-be painted Martian forces he bought from Dale M. today. We might even host a small game at Enfilade! next May. Speaking of Dale, you can visit his website for many more photos of this game. Anyway, the game has rekindled interest in VSF/Steampunk - something I know very little of.

Friday, October 21, 2011

79th Cameron Highlanders - Victrix

Well, I did go ahead and repaint some of the previously painted 42nd Highlanders. All I did was add red and yellow overstripes to their kilts; as well as paint over their blue facings with green. After I add a command group of two colors and two musicians, they will be a 24-man unit.
The remaining 42nd Highlanders have 28-figures, but four of them are kneeling figures, so I may not use them. 24-figures is considered a "Regular" sized unit for Black Powder - basically a battalion. I don't think either Highland unit ever had more than one of their battalions in the Peninsular at any given time, so I figured I'd have one of each. I'm hoping to remove most of the figures I have on washers and rebase them four each to a 40X40mm wooden Litko base.

Napoleonic Projects - Pending

Well, no sooner than I was about to add some red and yellow stripes to some Highlanders - to convert them to a unit of 79th Cameron - my Architects of War order arrived. So, I either go forward with the work on the Highlanders, or start on a couple of Perry RHA units and a new Perry British infantry unit - likely a Guards or KGL unit; also, a Warlord Vivandiere and donkey completes the order.
Tomorrow I head to The Game Matrix to participate in a large VSF game - something do do with Martians - using a modified variant of TSATF. I'm bringing my Japanese RJW troops; we'll see if they can be involved.

Sunday, October 16, 2011

Black Powder - First Game - 10/16/11

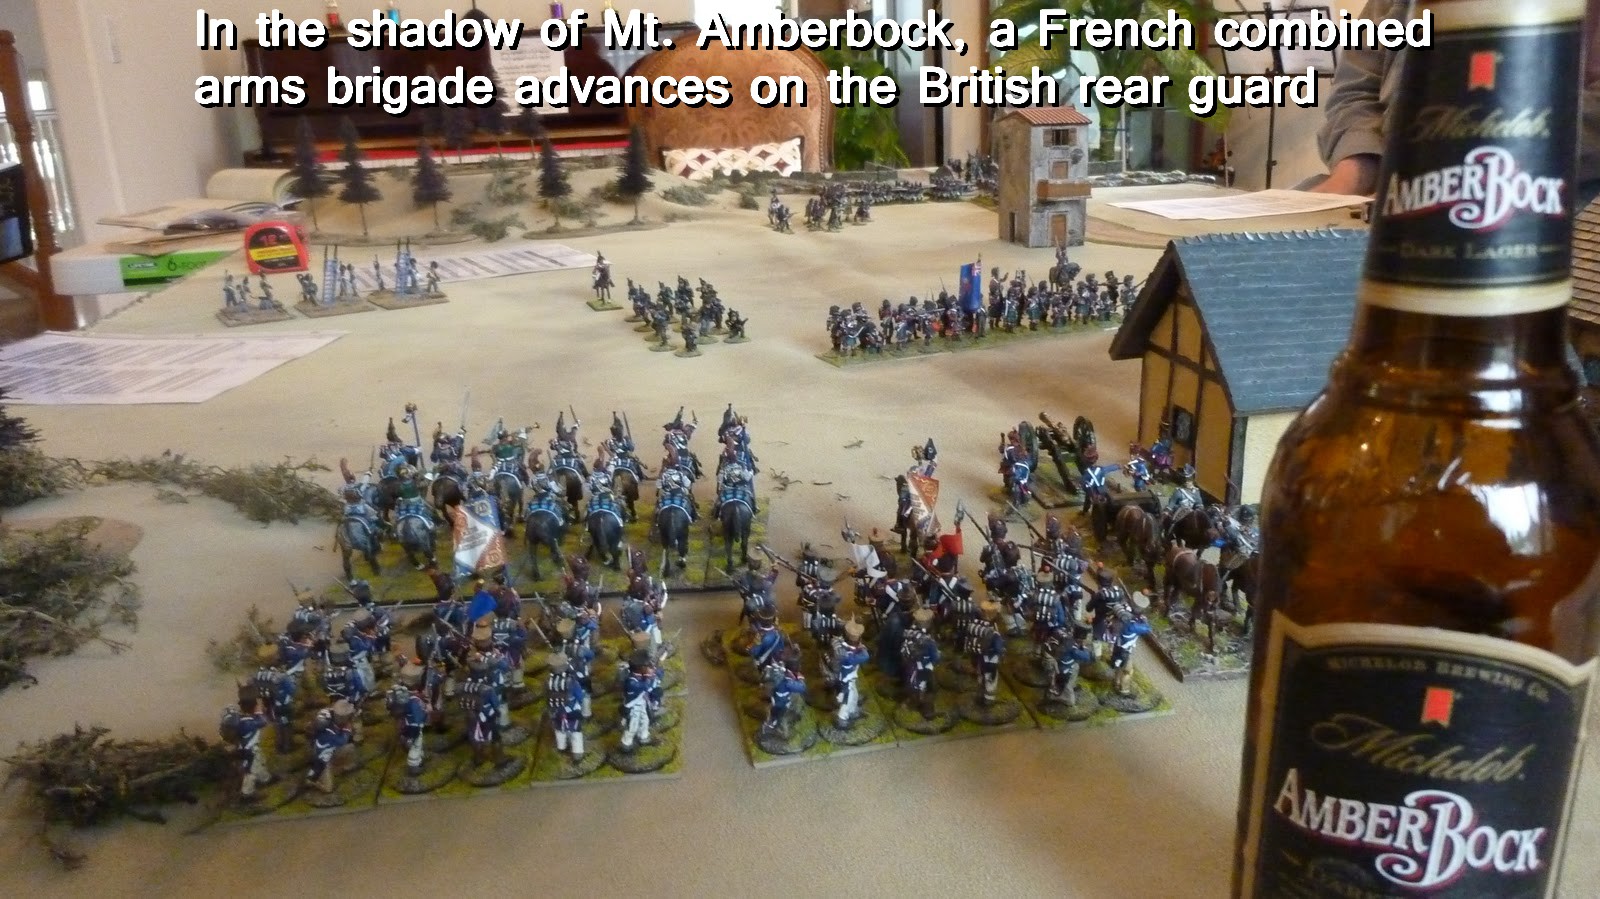
Thanks to my gaming buddies, Scott A., Adrian and James, an enjoyable intro to Black Powder was gamed today. Although it was the first time with the rules, all of us had a great time and the rules were really easy to understand and get through; we even used Congreve Rockets. The scenario we used was a scaled down version of the "El Perez" game illustrated in the rule book. The three British brigades needed to get at least half of their forces over a river via the one bridge. Two French brigades were to come on the table opposite the bridge to stop them. A small French garrison was on the other side of the river to make things interesting. Most of the units, both cavalry and infantry were Regular sized; only the units of British Rifles, Spanish Guerrillas and the French garrison were classed as Small. Here are a few photos I managed to take during the heat of battle.
The British went first, with some of their forces making for the bridge while others remained in place to hold off the advancing French. In fact, half the French failed their initial movement commands and remained off the board until their next turn.
Here are the stoic British rearguard.
The French right had a brigade including Hussars, infantry and artillery facing off a British brigade of 42nd Highlanders and 95th Rifles. The Hussars losing their round of close-combat ended up having to leave the table after a Break Test.
A fair portion of British managed to reach the bridge but were held off by the small French garrison who took up positions in a church. I failed to caption the photo - but the unit in the rear of the column are British Marines that my buddy Scott brought to the game.
Soon after the French Hussars left the field, a unit of French infantry closed in for combat with the Highlanders. NOTE: upon reviewing the Black Powder Forum, it appears the French infantry shouldn't have been in Attack Column within the town street - they should have had to reform (another Command/Movement) upon exiting the town into an Attack Column.
French heavy cavalry on their left flank. The supporting infantry having left the table due to results of a Blunder of rolling two 6's.
Here's a photo I lifted off my buddy's Face Book. In the true spirit of the rules, I ensured my gamers had ample sandwiches and brew.


After enough French units left the table due to Break Test and Blunder results, we called the game an eventual British victory. Although, I have to admit that small unit of French Voltigeurs in the church were still holding off large numbers of British bottle-necked at the bridge. All in all, we really enjoyed the rules and are committed to building up more forces for a rematch using another scenario - probably a more linear battlefield. A meeting engagement may work for this. I highly recommend Black Powder to anyone who likes simple and fast-play rules, while still maintaining a semblance of historical accuracy. One feature of the rules that I initially had some reservations with, the Command portion, actually ended up one of my favorites. I liked how the commander had to make his intentions known prior to his die rolls, and having to deal with the consequences should the roll end in a failed command or even worse, a Blunder!

Saturday, October 15, 2011

Warlord Praetorians - Second Unit Completed

Thanks to Dave at Warlord who kindly sent me a sprue of parts that I was missing, as wells a full decal sheet - I was able to finish this unit. Since the sprue included additional figures, I added a figure to each unit; bringing them up to 21-men each. Here is the second unit with LBMS transfers.
And the two Praetorian units side by side - the red shields are included in the box and are traditional water-slide types.
As these are my first EIR units, it is similar to building a Napoleonic French army by starting with Old Guard, or a WW2 German army with King Tigers, but since they were acquired as a trade off for building some Victrix, I don't mind.

Tomorrow, I'm hosting a trial Black Powder game with a few buddies. We're using the "El Perez" scenario in the book; although scaled-down and modified with the far fewer figures than the Perrys used. The scenario, for those without the rulebook, has the British needing to cross the river in a fighting retreat. The French come on if they roll successful Command rolls. Although I think I read the rules correctly and the units can opt to use a one move Initiative move if they want to, ensuring they will at least get on the table.
Above is the set up before several more buildings and the river and bridge arrive courtesy of one of my buddies. Also, two others are bringing additional British troops - a Rocket unit and some British Marines. The table is 8 X 5 feet - looks tight, but at least we should get a good familiarization with the basic rules.

Sunday, October 9, 2011

Perry Napoleonic Casualties - Black Powder Markers

To get ready for a trial Black Powder game next weekend, figured I better paint up some Perry casualties that were sitting unpainted for some time. Up until now I've only played Sharp Practice with Napoleonics and that system has individual figure removal so never needed these figures. Well Sharp Practice does have to keep track of Shock points, but I've used D10's for this in the past.
The figures are mounted on cheap plastic poker chips that have received a little dry brushed highlighting. Two of the French are Lights and the rest Line; the British have varied facings. The one British guy with his musket was done previously, but I don't plan on adding muskets to the rest - mainly for ease of handling. The plan is to use a marker with figure for the first casualty, and plain red or blue chips for subsequent casualties - placed under the first one.

Saturday, October 8, 2011

Warlord Praetorian Guard - One Unit Completed

Even though I ordered enough blue shield decals for both boxes of figures, I decided to use the red set that came with one of the boxes. This way the two units will be a little different looking, while still somewhat uniform (armor-wise).
The second unit is still awaiting the missing helmeted heads, as well as the blue shield decals. Otherwise they are also completed.
I may order the Optio pack and add one to each unit to bring them up to 21-man units. This way they can be in three ranks of 7 figures - for WAB 2.0.

Friday, October 7, 2011

How to Speed Paint Warlord Games Praetorians with Minwax Stain

Couldn't resist working on these guys before the weekend. I sprayed them with Krylon Mettalic Silver as a basecoat (thanks to a tip from James B's blog; then gave them a basic block paint job; although the Centurions' capes were given some highlights. They were then given the Miniwax Tudor Satin treatment - brushed on. Finally they were just given a coat of Krylon Matte - I didn't use Testors Dullcote, as I didn't want the armor dulled too much. Krylon Matte actually gives a more satin finish. Here they are, minus the musicians, standards, and the few still waiting on missing helmets.
This is what they looked like prior to the Miniwax treatment - they reminded me of what my Airfix guys used to look like when I first started the hobby.
The bases will be flocked next. Also, waiting on some blue shield decals to arrive before starting on the shields. I'm thinking these may be perfect for Saga - I understand you don't need large amounts of figures.

Sunday, October 2, 2011

Project Plastic + 2

Finished the two boxes of Warlord Praetorians. However, there is now a mystery - for some reason, I'm short four helmeted heads & six crests. I could've sworn the sprue trees (2 in each box) were intact when I opened them. Nothing left on the trees except shields and a few spare arms, pila, and some helmets that have no heads in them - weird. I hope I can get replacements as I wanted them in to units of 20. Otherwise they are nice figures and rank up well - even the pila throwing poses.
ADDENDUM: I just rec'd an email back from Dave at Warlord Games - he's sending me the replacement parts. What a great company!

Project Plastic +1

All of the Victrix British are done. Actually I need to let my buddy know if he has one of the sprues. I didn't have the one with the drummers and sergeants. Otherwise there are enough here for two each Light and Line battalions. EDIT: my buddy emailed me back and had already put together the sergeants and drummers - so they are all ready for his paint brush.
Here's a picture of what I mentioned in the previous post; about gluing the two arms together first with Testors modelling cement. This allows easier (read: less fiddly) attachment to the body. It's actually the way this similar arm-pose is cast for the Perry French infantry set. That is, both arms are already attached together.
And soon after - before the cement is completely dry - you should have more than enough time to do this.
Next up, the Warlord Praetorians.

Saturday, October 1, 2011

Project Plastic

One of my gaming buddies has been sitting on a couple of boxes of Victrix British for a couple of years. He has been put off, like many others, by having to glue the parts together. I told him I'd do this for him; he wanted to pay me, but I told him not to worry about it. I said it wasn't a problem and it is kind of therapeutic for me. He insisted on giving me two boxes of Warlord Praetorians for the work. Who am I to deny this - plus I still have left over silver spray paint.
I managed to complete one box of the Victrix after our Great War game today. It's all production line stuff and the hardest thing was getting the metal Light heads onto the bodies. Super glue was used for this, but the rest of the parts are glued together with Testor's modelling cement. I find this the best for plastic. Anyway, one box was enough for two 24-man battalions, including command.
I'll get the other box done tomorrow - after I go to the pistol range on Fort Lewis with my older son. The other box should be a lot faster without the need for metal heads.

ADDENDUM: For the poses requiring the two arms to hold the musket, I've found it best to glue (w/Testor's modelling cement) the two arms/hands together first. Wait about a 30 seconds to a minute and then glue the now one component onto the body at the shoulders. Since the modelling cement is still tacky, you can adjust the position of the arms while they still remain together. In fact, it's sometimes best to let the modelling cement to dry a few seconds before sticking the pieces together. You can even adjust the position of the pieces for several minutes thereafter if needed. Besides gluing the metal Lights heads on, I only use super glue to strengthen or fix broken or weak parts, like bayonets or musket slings by dropping little super glue onto the offending area/part. Granted all of this isn't as fast as pulling out complete metal figures from a bag, but such is the case with these.

The Great War - 10/1/11

Well several of us showed up at The Game Matrix this morning and got in a nice rules familiarization of The Great War. We ran through most of the rules except for Pinning, for some reason or another. One thing we seemed to have gotten wrong last time was the firing of the 57mm cannon from the A7V. It appears, Pat L. got it wrong with using the direction dice after setting the blast marker. Apparently the direction dice isn't used after placing the marker after a successful hit. Anyway, Tom D. played his French against my Germans on one side of the table. While Bruce M. with an almost identical force of Germans on the other side went up against James' British. A couple of other gaming buds read up on the rules for us when we had a gray area - actually quite a few times really.
Bruce's larger A7V (not sure of the maker, but it's about 1:48 scale), and matching large Renegade figures.
Here's a close up of my Old Glory A7V with new markings on the front.
Here the Germans on my side of the table are taking the first British trench. They were soon decimated.
A few turns later had the German infantry practically wiped out, with only the tanks and HMG crews left. We decided we probably need to play out this scenario a few more times; and likely aren't ready to host a game at Museum of Flight.